Beginner-friendly baking recipes (Perfect for Beginners and Intermediate-level Bakers)
This blog post is intended for beginner to intermediate-level bakers to browse and skim through recipe ideas for baking.
Although there are procedures mentioned, this is not intended as a step-by-step guide. The purpose of showing the procedure is to allow you, the user, to see how simple or complicated the process is.
Once you find something you like to try baking, I suggest you go to Youtube and search "How to Make [The Name of the Baked Good]" to get a visual presentation on how it is done.
List of beginner-friendly recipes:
What is the difference between wet and dry ingredients?
Wet ingredients are typically in a liquid or semi-liquid state, while dry ingredients are typically in a solid or powdered form.
Beginner-friendly Recipes for Baking
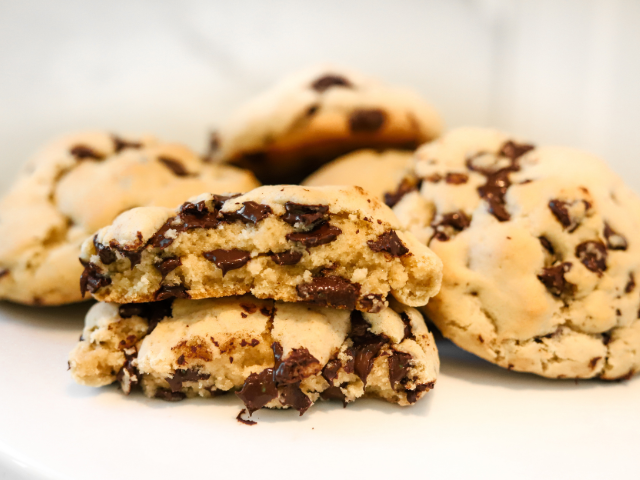
Ingredients
- 1 cup (2 sticks) unsalted butter, softened
- 3/4 cup granulated sugar
- 3/4 cup packed brown sugar
- 2 large eggs
- 1 teaspoon vanilla extract
- 2 1/4 cups all-purpose flour
- 1 teaspoon baking soda
- 1/2 teaspoon salt
- 2 cups chocolate chips
Equipment needed:
- Mixing bowls
- Electric mixer or wooden spoon
- Baking sheets
- Parchment paper or silicone baking mats
- Wire cooling rack
Why use wooden spoon for mixing in baking cookies?
Wooden spoons are less likely to scratch the surfaces of your mixing bowls compared to metal utensils.
Wood is also non-reactive, meaning it won't react with acidic or alkaline ingredients.
What if I don't have a wire cooling rack?
Place paper towels or clean kitchen towels on a flat surface. Place the cookies on top, allowing them to cool.
Procedure:
- Preheat the Oven: Preheat your oven to 350°F (175°C).
- Prepare Baking Sheets: Line your baking sheets with parchment paper or use silicone baking mats to prevent sticking.
- Cream Butter and Sugars: In a large mixing bowl, cream together the softened butter, granulated sugar, and brown sugar until light and fluffy.
- Add Eggs and Vanilla: Add the eggs one at a time, beating well after each addition. Mix in the vanilla extract until well combined.
- Combine Dry Ingredients: In a separate bowl, whisk together the all-purpose flour, baking soda, and salt.
- Combine Wet and Dry Ingredients: Gradually add the dry ingredients to the wet ingredients, mixing just until combined. Be careful not to overmix.
- Add Chocolate Chips: Fold in the chocolate chips until evenly distributed throughout the cookie dough.
- Scoop Dough onto Baking Sheets: Drop rounded tablespoons of cookie dough onto the prepared baking sheets, spacing them about 2 inches apart.
- Bake: Bake in the preheated oven for 10-12 minutes or until the edges are golden brown. The centers may still look slightly soft, but they will firm up as they cool.
- Cool on Wire Racks: Allow the cookies to cool on the baking sheets for a few minutes before transferring them to wire racks to cool completely.
- Enjoy: Once the cookies are completely cooled, enjoy them with a glass of milk or your favorite beverage!
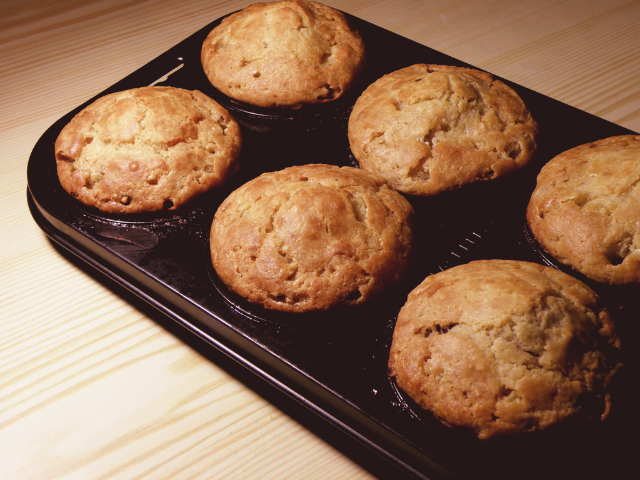
Ingredients:
- 2 cups all-purpose flour
- 1 tablespoon baking powder
- 1/2 teaspoon baking soda
- 1/2 teaspoon salt
- 1/2 cup unsalted butter, melted and cooled
- 3/4 cup granulated sugar
- 2 large eggs
- 1 cup milk (whole or buttermilk for a richer flavor)
- 1 teaspoon vanilla extract
- Optional: Add-ins such as chocolate chips, blueberries, or nuts
Equipment needed:
- Mixing bowls
- Muffin tin
- Paper muffin liners or cooking spray
- Whisk or electric mixer
- Measuring cups and spoons
- Cooling rack
What if I don't have a cooling rack?
Place paper towels or clean kitchen towels on a flat surface and put the muffins on them.
Or simply let it cool directly in the baking pan, but be aware that the bottoms might retain more heat, leading to a higher chance of condensation forming.
Procedure
- Preheat the Oven: Preheat your oven to 375°F (190°C). Line a muffin tin with paper liners or grease the cups with cooking spray.
- Prepare Dry Ingredients: In a large bowl, whisk together the flour, baking powder, baking soda, and salt. Set aside.
- Mix Wet Ingredients: In another bowl, beat the melted butter and sugar together until well combined. Add the eggs one at a time, beating well after each addition. Stir in the milk and vanilla extract until the mixture is smooth.
- Combine Wet and Dry Ingredients: Gradually add the dry ingredients to the wet ingredients, mixing just until combined. Be careful not to overmix; a few lumps are okay. If desired, fold in any additional ingredients like chocolate chips, blueberries, or nuts.
- Fill Muffin Cups: Spoon the batter into the prepared muffin cups, filling each about two-thirds full.
- Bake: Bake in the preheated oven for 18-20 minutes or until a toothpick inserted into the center comes out clean. The tops should be golden brown.
- Cool: Allow the muffins to cool in the tin for 5 minutes before transferring them to a cooling rack to cool completely.
- Serve and Enjoy: Once cooled, enjoy your homemade muffins! They're perfect for breakfast or as a snack.
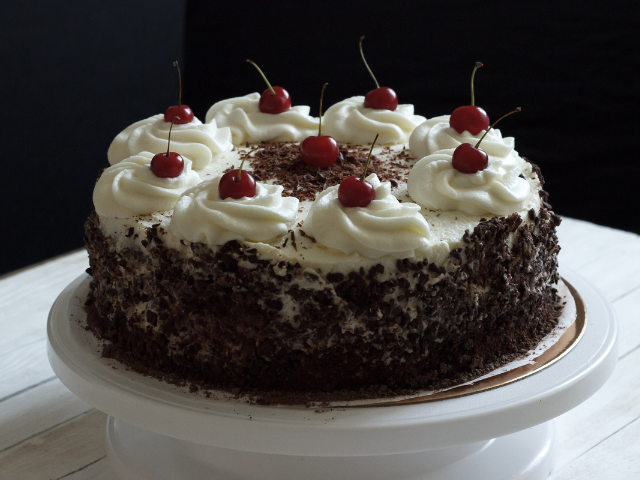
Ingredients
- 2 1/2 cups all-purpose flour
- 1 1/2 cups of unsweetened cocoa powder
- 2 1/2 teaspoons baking powder
- 1/2 teaspoon baking soda
- 1/2 teaspoon salt
- 1 cup (2 sticks) unsalted butter, softened
- 2 cups granulated sugar
- 4 large eggs
- 2 teaspoons vanilla extract
- 1 1/2 cups whole milk
- Optional: Withhold 1 1/2 cups of unsweetened cocoa powder for Vanilla Cake
Equipment needed:
- Mixing bowls
- Electric mixer or stand mixer
- Two 9-inch round cake pans
- Parchment paper
- Cooking spray or additional butter and flour for greasing pans
- Wire cooling rack
What if I don't have a wire cooling rack for the cake?
Cool the cake in the baking pan for about 10-15 minutes on a trivet, folded kitchen towel, or another heat-resistant surface. Then you can transfer it to a flat surface.
Procedure:
- Preheat the Oven: Preheat your oven to 350°F (175°C). Grease the bottoms and sides of two 9-inch round cake pans. Line the bottoms with parchment paper and grease the paper.
- Prepare Dry Ingredients: In a medium bowl, whisk together the flour, cocoa powder, baking powder, baking soda, and salt. Set aside.
- Cream Butter and Sugar: In a large bowl or using a stand mixer, cream together the softened butter and granulated sugar until light and fluffy.
- Add Eggs and Vanilla: Add the eggs one at a time, beating well after each addition. Stir in the vanilla extract.
- Alternate Adding Dry Ingredients and Milk: Gradually add the dry ingredients to the wet ingredients, alternating with the milk. Begin and end with the dry ingredients. Mix until just combined. Be cautious not to overmix.
- Divide Batter and Fill Pans: Divide the batter evenly between the prepared cake pans and smooth the tops with a spatula (Ignore this step if you are only making one cake).
- Bake: After filling the pans with batter, bake in the preheated oven for 25–30 minutes. The cakes should be golden brown, and the edges should be pulling away from the sides of the pans.
- Cool in Pans: Allow the cakes to cool in the pans for about 10 minutes, then transfer them to a wire rack to cool completely.
- Frost and Decorate (Optional): Once the cakes are completely cool, you can frost and decorate them as desired. You can use classic buttercream, cream cheese frosting, or any frosting of your choice.
- Slice and Serve: Slice the cake, serve, and enjoy your delicious homemade chocolate cake!
Interested in learning how to start baking? This blog post might be of help.
Copyright ©2024 by Marshall Vulta


Comments ()